This post is part of our 3D Printing Technologies series.
3D printing is offered in many forms, including a vat photopolymerization process referred to as SLA. Due to this 3D printer’s design and post-processing handling, SLA parts are best created in an industrial setting. As such, this article will only discuss SLA in terms of how it performs on an industrial level. Also in this article will be details of what SLA is, best applications of this technology, how the process works, common available materials, and alternatives to SLA.
What is SLA?
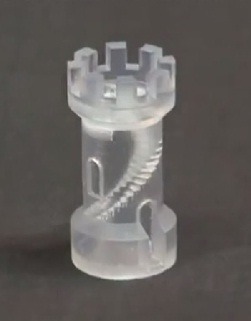
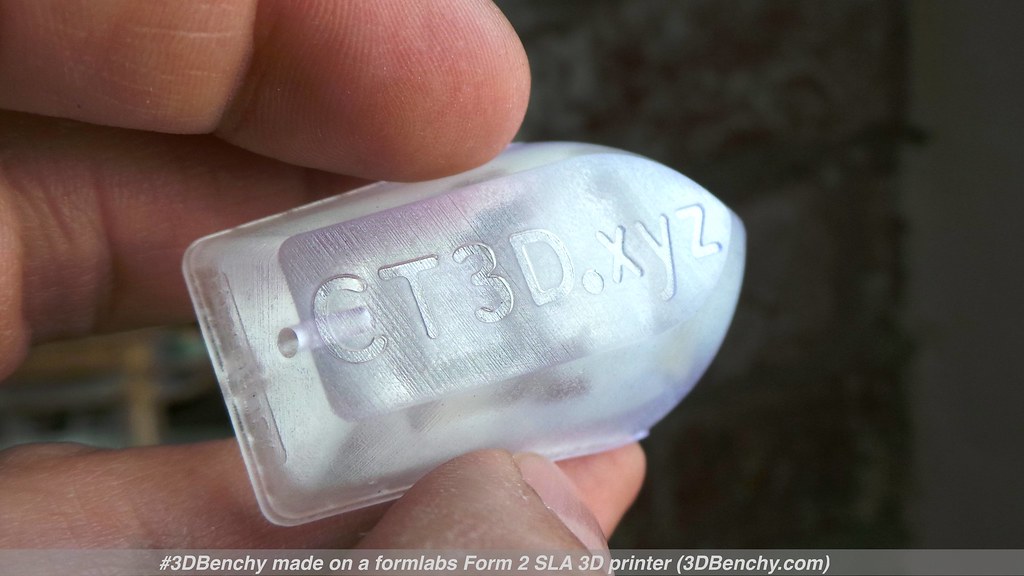
Stereolithography, or SLA, is an additive manufacturing process that works with liquid plastic resins and UV light to create parts in a contained vat. It is capable of producing parts with a high resolution that makes it perfect for cosmetic prototypes.
It is worth noting that SLA is the predecessor of Digital Light Processing (DLP), which is a similar technology often confused with SLA. The primary difference between the two is that SLA uses a laser to trace the layer shape while DLP uses a projector to cure the whole layer at once. Even though the simpler mechanics of DLP allow it to be more affordable, SLA is still the more popular choice between the two due to its higher accuracy with fine details.
 Advantages of SLA
- Isotropic parts
- Watertight parts
- Less waste (reusable resin)
- Smooth surface finish
- High accuracy (including fine details)
- Fewer geometrical restrictions than traditional manufacturing
- Faster lead time than with traditional manufacturing (great for rapid prototyping)
Disadvantages of SLA
- Brittle (especially when exposed to prolonged sunlight)
- Needs additional curing in post-processing for increased stiffness
- Vulnerable to shrinking/curling during printing
- Limited color choice for materials
- Large volume productions are inadvisable (costly and time-consuming)
Applications of SLA
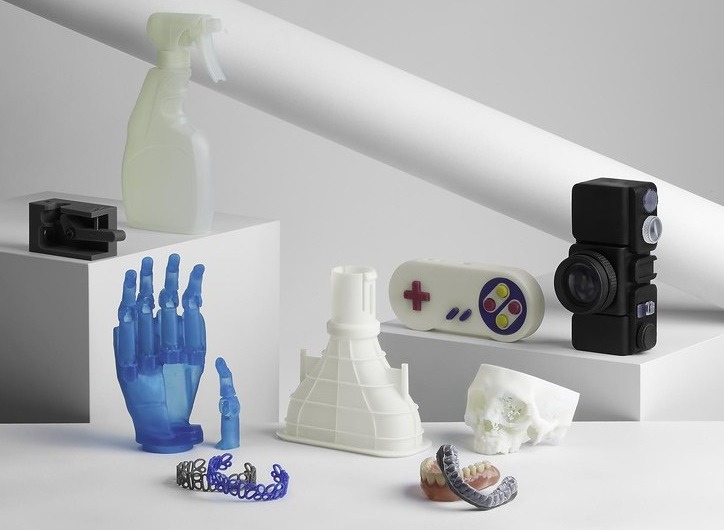
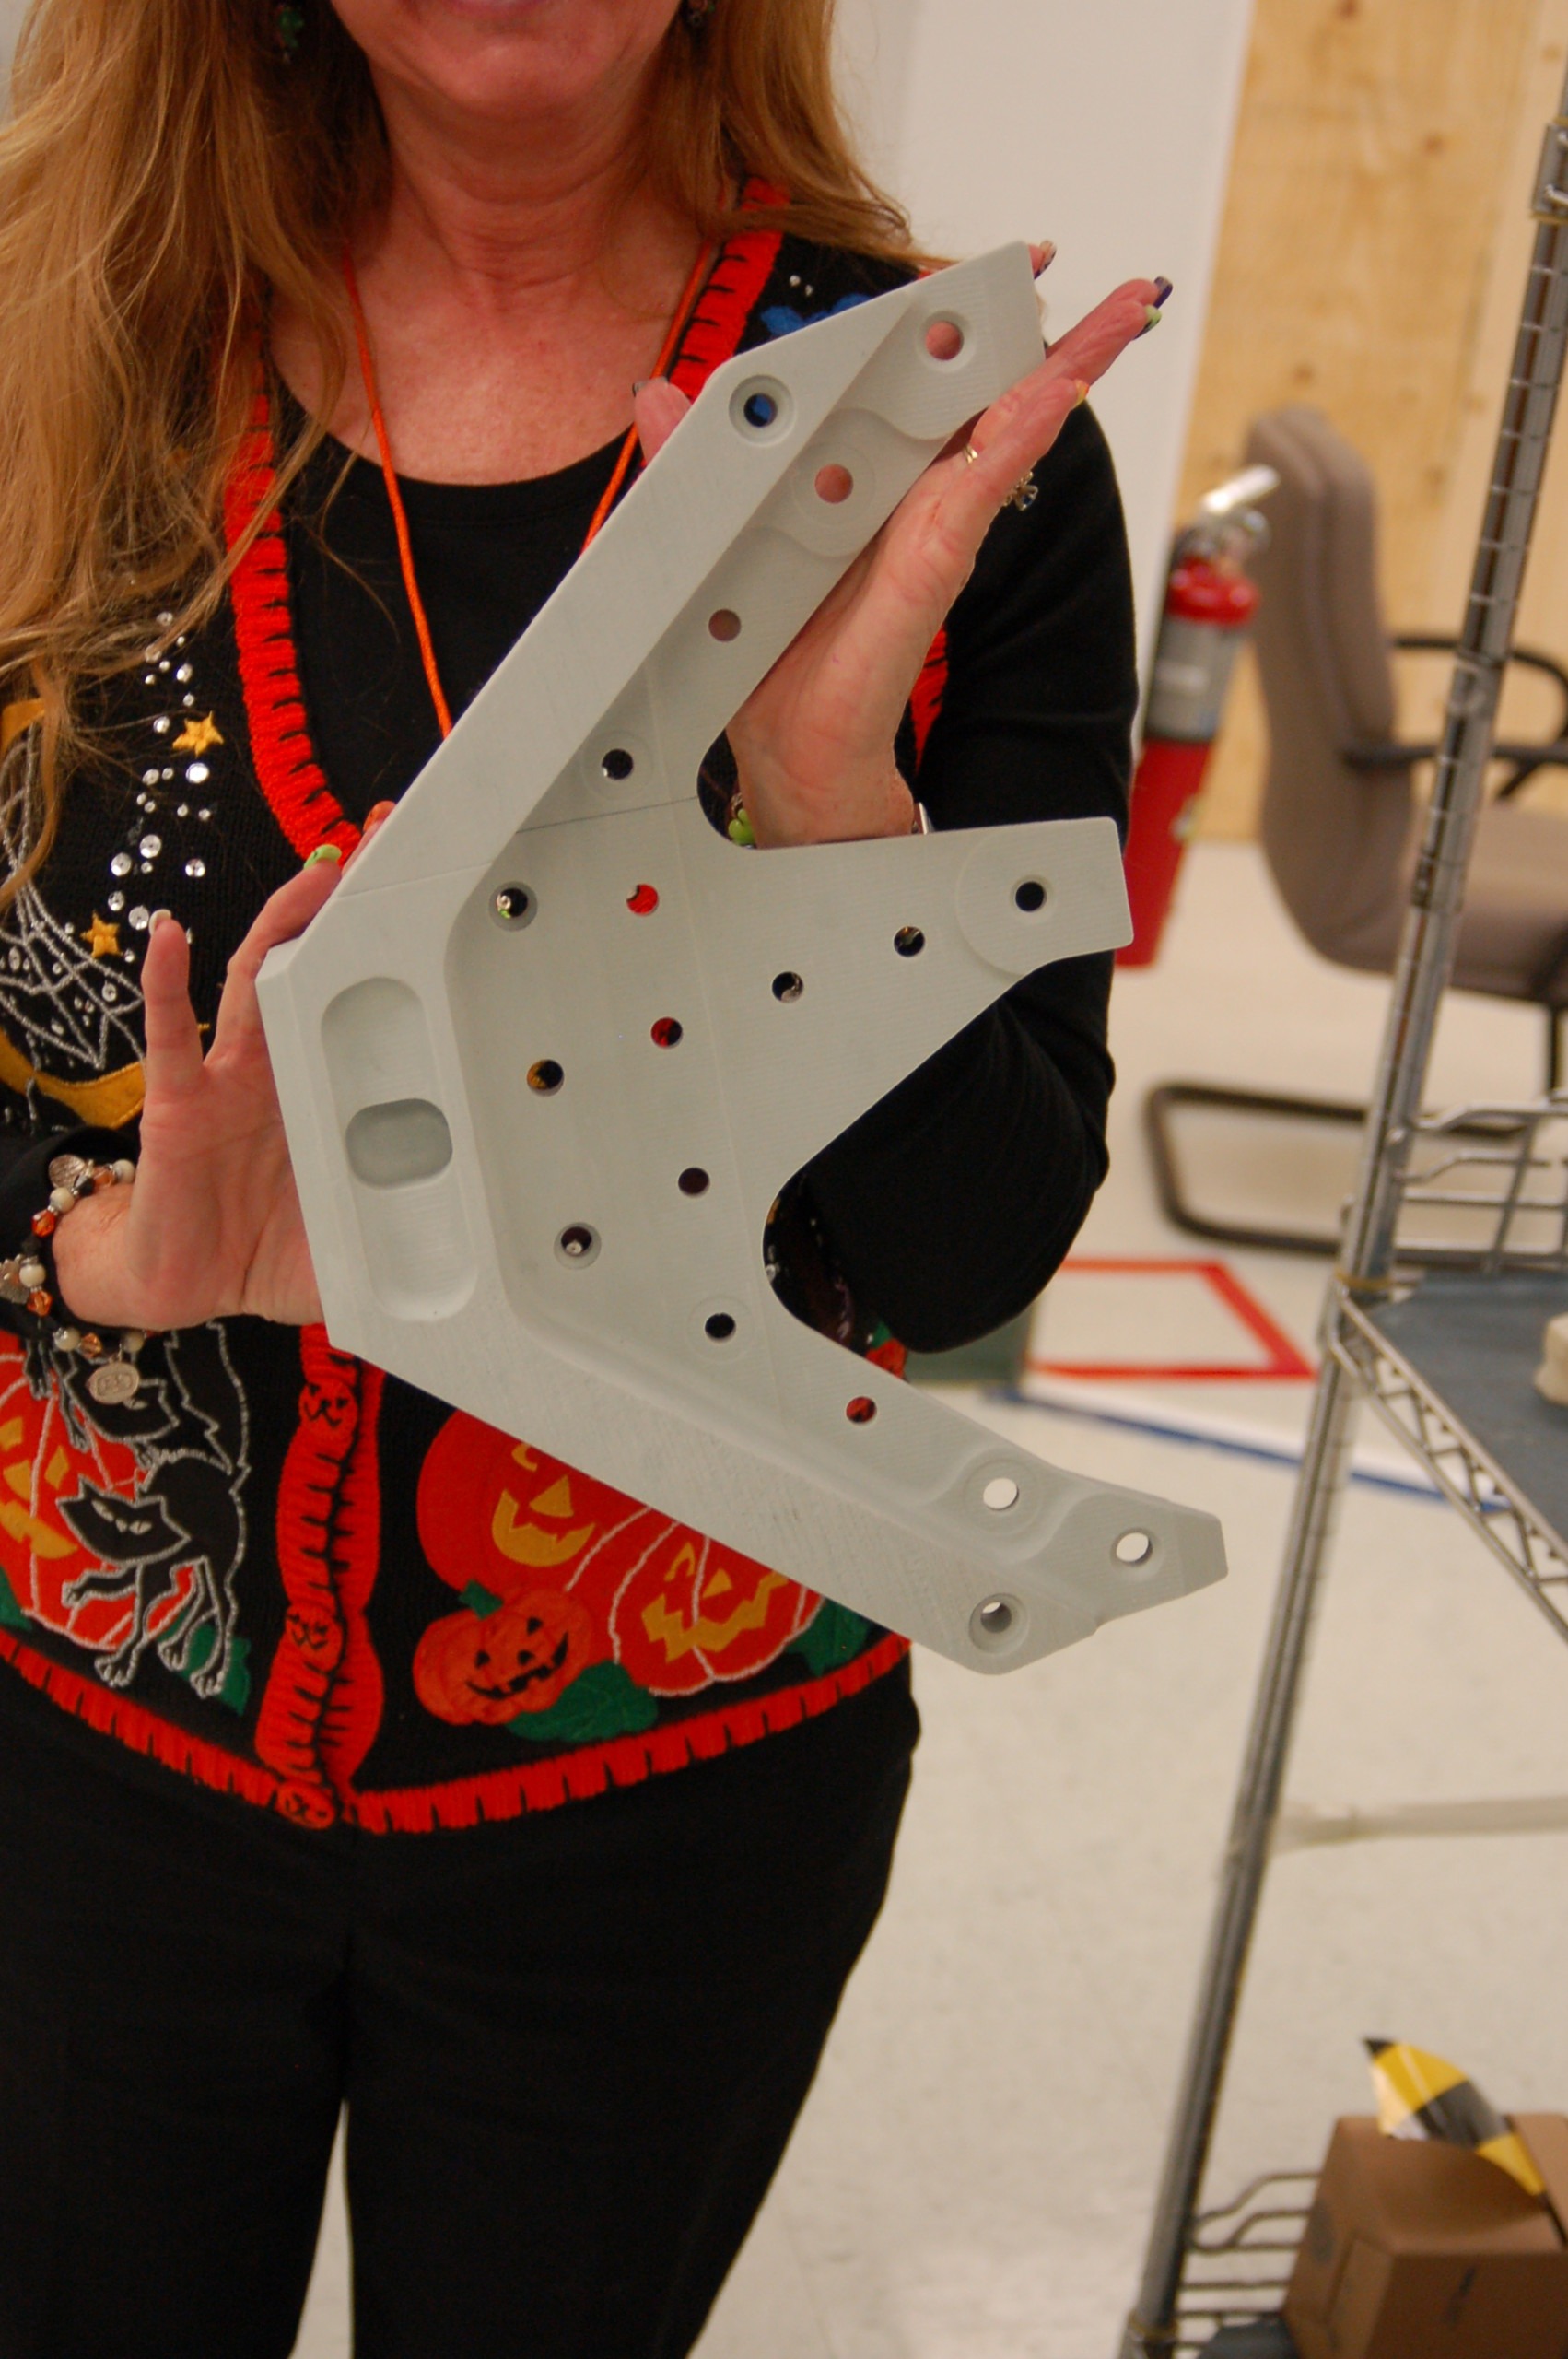
Because of the brittle finished state of its parts, SLA is not typically used for functional parts. Rather, it is used for low stress applications that require superior surface finish and accuracy, such as cosmetic prototypes and concept models. Specifically, it is often used to produce items such as electrical casings, automotive housings, patterns for investment casting, and optically clear models to show water and wind flow for concept evaluation. In more broad terms, however, SLA may be used for parts for the following applications:
 Cosmetic Prototypes – The SLA photopolymerization technology allows for sharp rectangular edges on layers, providing a smoother surface finish with less noticeable layer lines. As such, SLA parts can mimic the appearance of traditionally injection molded parts.
- Fit Testing – SLA has tight tolerances, meaning that the resulting parts are more accurate than many other manufacturing technologies. SLA parts produced for fit testing can be used for small intricate components as well, such as electrical connectors.
The Printing Process
Before delving into how SLA works exactly, it is important to mention that there are two different types of SLA printing setups you may encounter.
The first is a bottom-up orientation where the part is printed upside down. For this orientation, the light source is positioned below the tank, and the tank has a coated clear bottom so the light can cure resin at the bottom of the vat. The build platform will start at the bottom of the tank and raise up with each completed  layer. This orientation may create weaker parts or fail completely with a print job because the layers may peel apart when they detach from the bottom of the tank each time a new one is created and the platform moves up. It is typically only found in desktop SLA printers.
The second and more reliable SLA print orientation is the top-down setup, which is used in industrial level SLA 3D printing. With this method, the part is built the right way up with the light source above the tank and the build platform starting at the top of the tank and moving down. Because this article focuses solely on industrial SLA 3D printing, we will explain the printing process in terms of the top-down orientation.
Just like any other additive manufacturing technology, the printing process begins by slicing your digital design into cross-sectional layers. Each layer is a template the printer will follow to create your part. These layers are recreated in physical form by first coating a perforated build platform in liquid resin, or photopolymers. The entire build tray is covered with this resin, with the walls of the vat preventing the resin from spilling over the sides. A UV laser is controlled by rotating X and Y mirrors, and wherever this laser touches the resin, the resin cures, or solidifies, forming a chemical bond. When one layer is completed, the build platform moves down an increment of one layer height, the build platform is recoated in resin, and the laser can begin tracing and curing the next layer. This process is repeated until the part is finished. At this point, the part will have become submerged in a vat of uncured resin. When the platform raises to allow 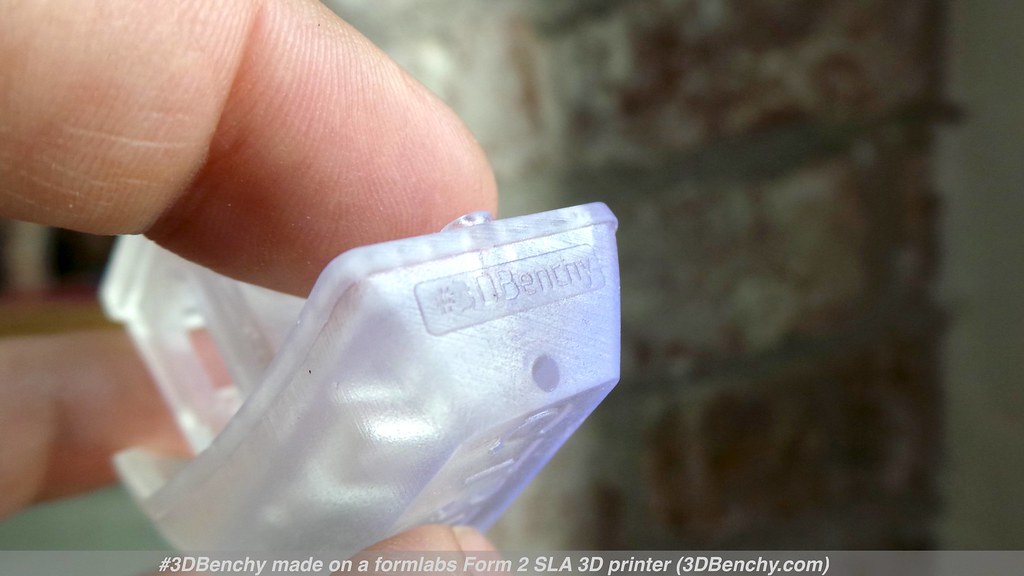 part removal, it will drain through the holes in the platform to reveal the finished part. This excess resin can be reused in future prints.
Upon completion, the part must be scraped or peeled away from the build platform, which puts the first few layers at risk of damage. To prevent this, it is best to orient the part at an angle so support structures will be built first and your part will remain unharmed in the removal step. Additionally, proper part orientation may be required to prevent “cupping”, which is layer separation or warp that happens because of trapped air or resin. To avoid this, you will want to make sure that no cavities are built facing the build platform. If this part orientation is not possible for your particular design, you can add drain holes to your design.
Support Structures
Additive manufacturing technologies often use additional material alongside the part material so that support structures can be built and easily removed after printing has been completed. However, SLA does not require special support material to create support structures. Rather, these structures are made from the 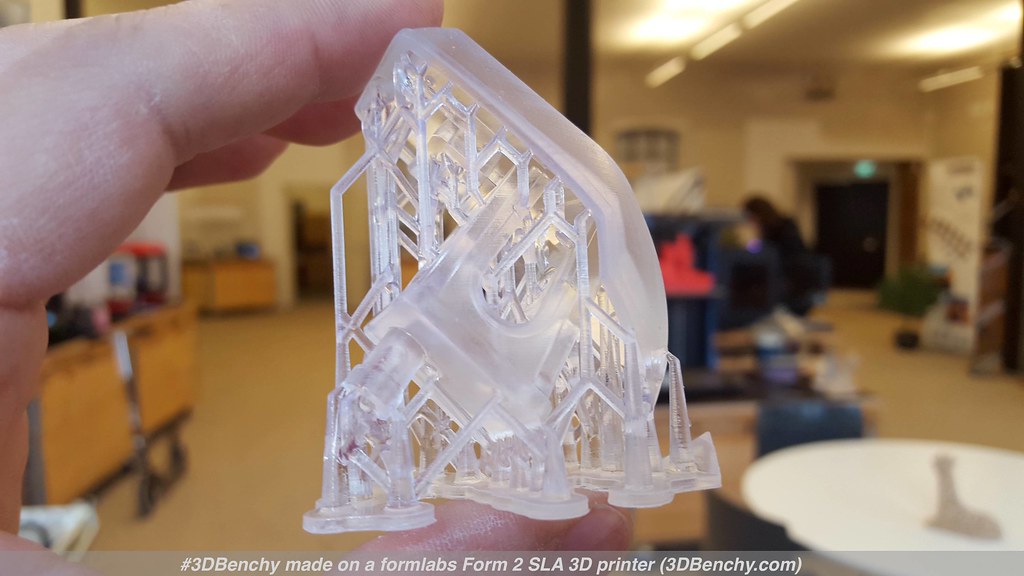 same resin as your part. They must be manually clipped off in post-processing.
Post-Processing
Once the finished part has been scraped from the build tray, the support structures are cut off. The part is then rinsed of excess liquid resin in an IPA (Isopropyl Alcohol) bath and placed in another chamber where it is further cured and hardened. At this stage, the part is ready for surface finishing, such as sanding, glossing, painting, varnishing, and more. It is important to note that if your part is intended for outdoor use, it must be coated to prevent it from being damaged by the UV rays of sunlight. Prolonged sunlight exposure may cause an uncoated part to become discolored, warped, and brittle.
Differences from PolyJet and MultiJet
The SLA printing process is similar to PolyJet and MultiJet 3D printing, which are two other additive manufacturing technologies that use resin thermosets and UV light to produce parts. The main differences between SLA and these two are the use of support material and how the resin is deposited and cured.
 While SLA uses the same material that the part is constructed of to build support structures, both PolyJet and MultiJet use a wax-like support material that is removed in post-processing by either peeling/scraping (PolyJet) or melting (MultiJet).
As for depositing and curing the resin, PolyJet and MultiJet use a stationary build platform and a movable print head. The print head is comprised of a dot matrix grid with hundreds of holes. The resin is deposited from these holes onto the build platform in the shape of the layer. Once the resin has been deposited, a UV light will pass over the platform to cure the resin.
Materials
SLA uses photopolymers, which are liquid resin thermosets, to make parts. As opposed to thermoplastics that can be remelted to be recycled, thermosets cannot be returned to a liquid state once cured and will burn when exposed to extreme heat. Below, we’ve covered the most common SLA photopolymers you’ll find on the market:
 Somos PerFORM
- Off-white
- Low viscosity (faster build)
- High rigidity
- HDT of 180°F at 264psi (compare to the HDT range of 109-127°F that the other materials on this list have)
- Unmatched detail resolution
- Commonly used for hot or humid work environments, such as automotive housings, electrical casings, tooling, and wind tunnel testing
Somos ProtoGen 18420
- Off-white
- High temperature resistant
- Moisture resistant
- Commonly used for hot or humid work environments, such as automotive parts, electrical casings, consumer products, and medical devices
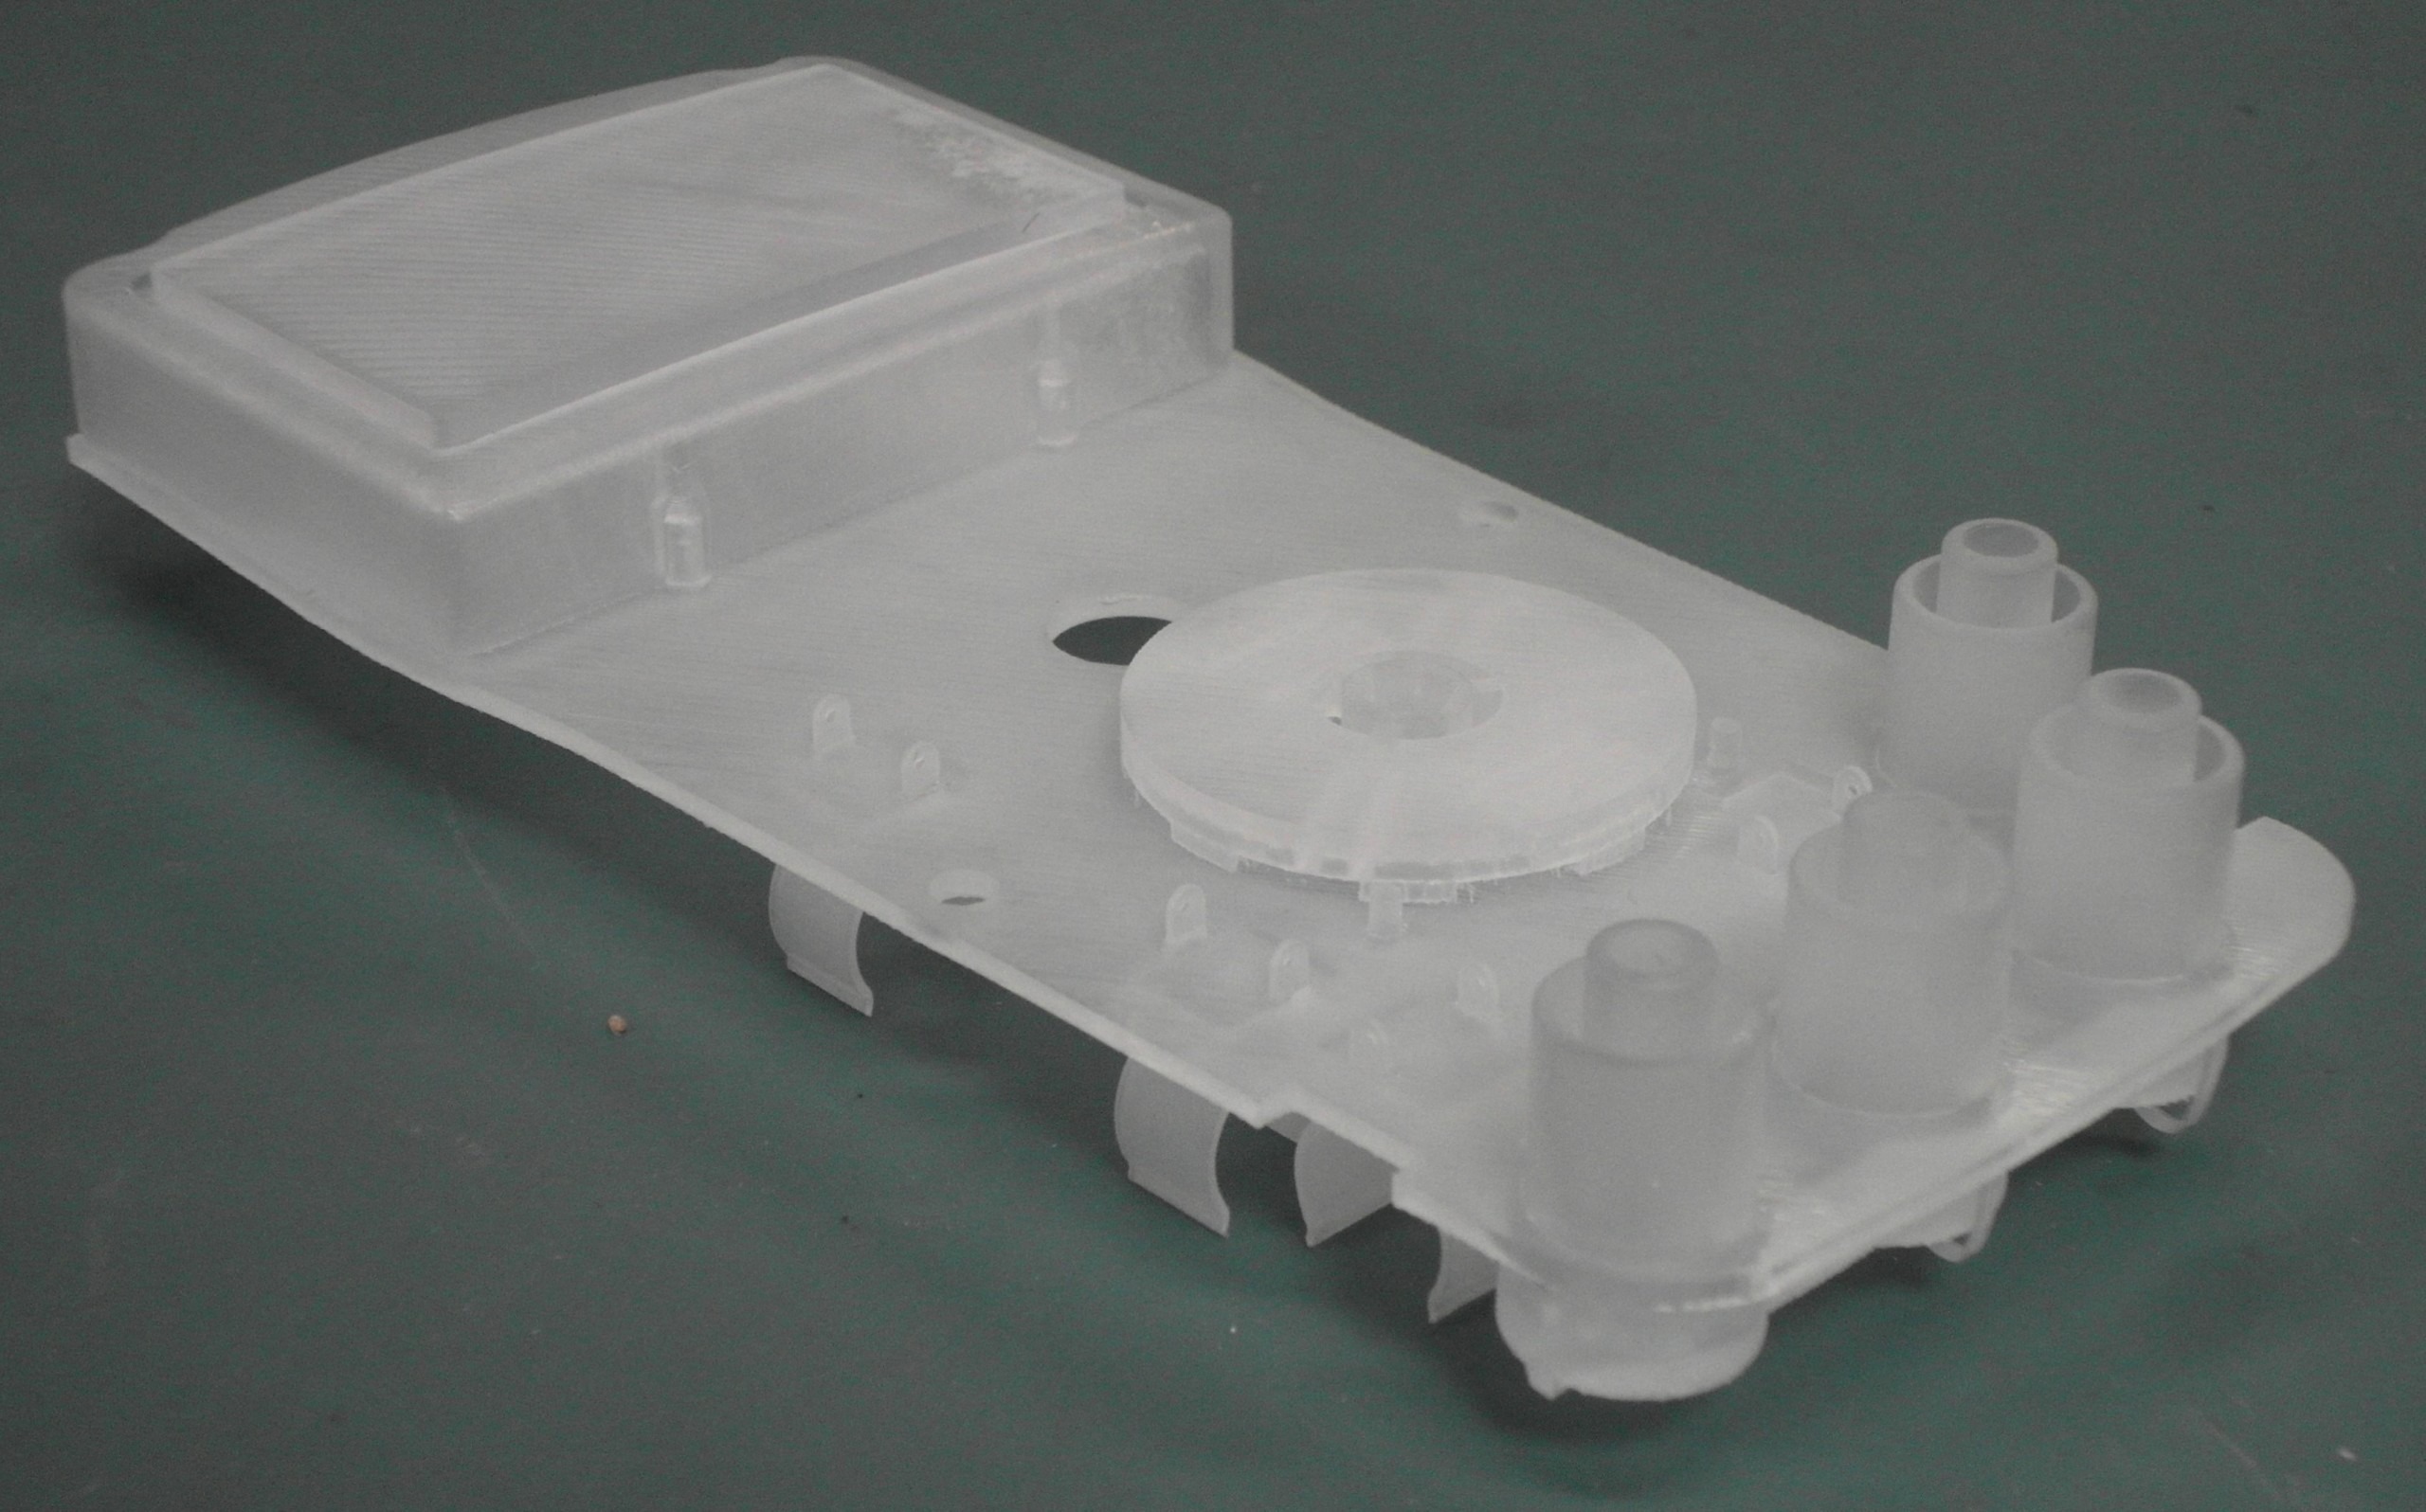
Somos WaterClear Ultra 10122
- Optically clear (appearance of acrylic)
- High temperature resistant
- Moisture resistant
- Commonly used for automotive lenses, bottles, light pipes, and optical light transmission work
 Somos WaterShed XC 11122
- Optically clear; nearly colorless (appearance and feel of ABS and PBT)
- Moisture resistant
- Commonly used for lenses, duct work, investment casting, consumer products, and fluid flow analysis
Somos NeXt
- White
- Appearance of finished traditional thermoplastic
- High heat resistant
- Moisture resistant
- Commonly used for sporting goods, packaging, snap-fit designs, and jigs and fixtures
 SC 1000P
- Transparent yellow-green
- Can be tinted or painted
- Moisture resistant
- Low shrink rate
- Commonly used for investment casting patterns and MRI imaging
Somos Element
- Clear
- Antimony-free
- Commonly used for printing casting patterns (low ash residue from burnout of casting)
Alternatives to SLA
Even though SLA has many great attributes, it may not be the best fit for your part’s intended application or your production needs.
As previously discussed, PolyJet and MultiJet 3D printing have similar processes and finishes as SLA. They can also make parts for cosmetic prototypes and fit  testing, and they even have a bit of an edge on SLA. PolyJet, for example, can blend resins to create a wide range of shore values, so you can produce your part with varying feel and flexibility from soft rubber to hard plastic. MultiJet is known for having a tighter tolerance than SLA and PolyJet, which makes it the prime choice for fit testing components.
However, if you need your part to be strong and functional, FDM 3D printing may be a better choice due to its use of hard thermoplastics. But, this is also an additive technology, which can only handle small volume productions. For large scale productions, injection molding will likely be the best choice.
Ultimately, your part’s intended application will likely be the determining factor for which technology you select.
3D Printing at 3 Space
Here at 3 Space, we have multiple manufacturing options available to fit your production needs, including injection molding, thermoforming, and a variety of 3D printing technologies. Our expert engineers are happy to answer any questions you may have regarding our scanning, design, or manufacturing services. For more information, contact us today.